From a 2D Plan
This section provides steps on uploading a 2D plan into "HomeByMe for Home Retailers" website.
Upload 2D floorplan
This section explains the steps to upload the 2D floorplan in the planner.
- Select the Floor plan option, as shown below:
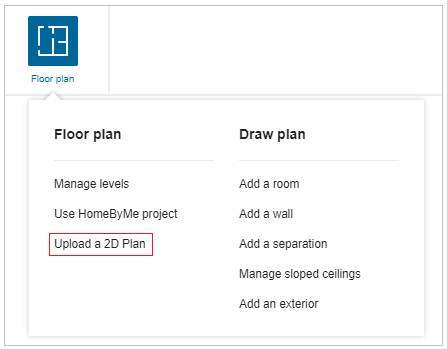
- Click the Upload a 2D floorplan option, the window to save your project appears, as shown below:

-
Click the Save button and enter the name and description of the project.

Click the Save button to save the project. -
Click the Continue button to upload the floorplan.
Tick the checkbox of Don't show me again to discard this notification.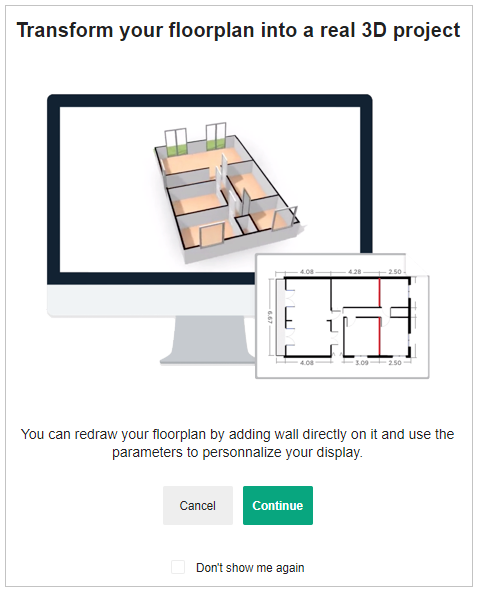
-
Click the Select file option to upload the floorplan file from the folder.
Also, you can drag and drop the 2D plan file.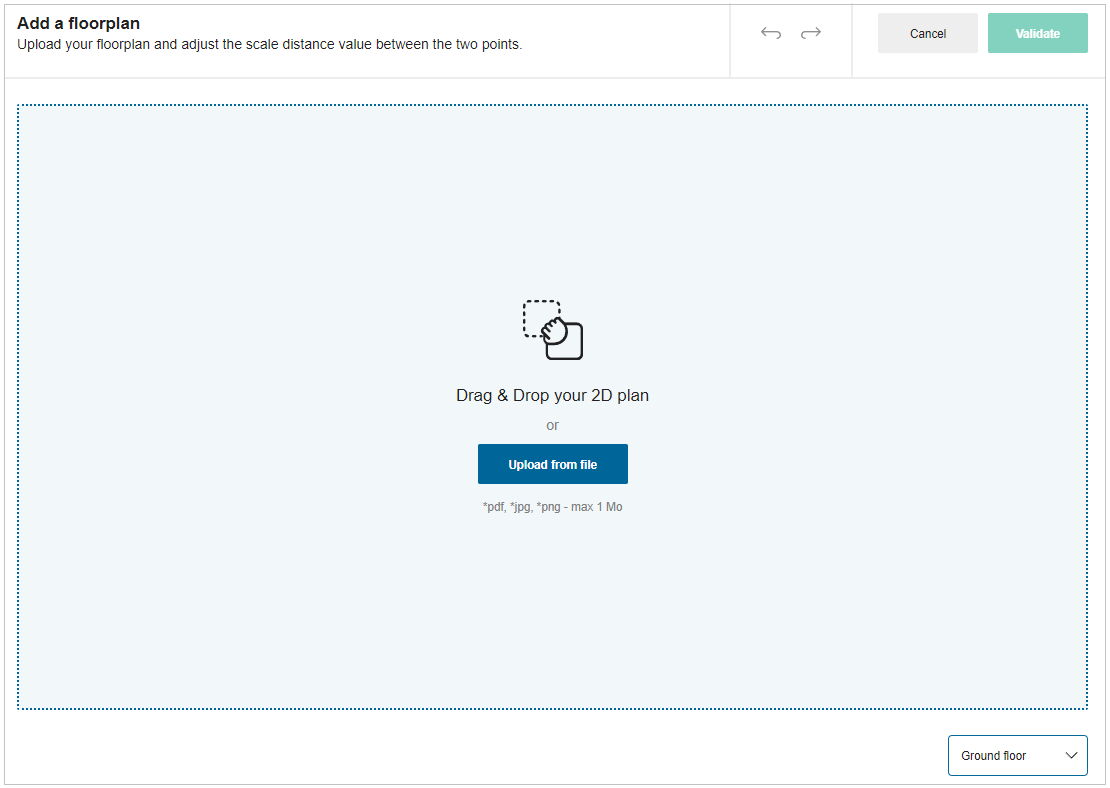
-
To upload image file:
Select .jpg or .png image format file from the folder, the file is uploaded as shown below:
-
To upload PDF file:
You can upload a single-page PDF file or a multiple-page PDF file.Single page PDF file upload:
Select the PDF file from the folder.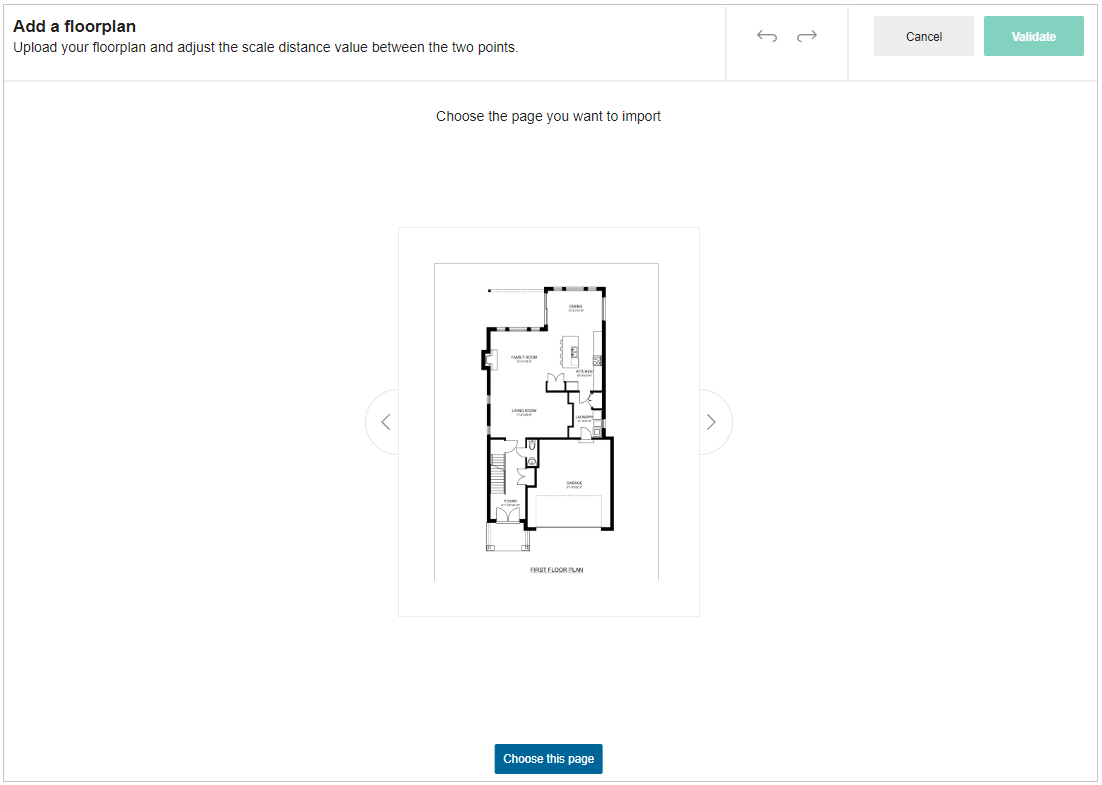
Multiple page PDF file upload:
Select the PDF file from the folder.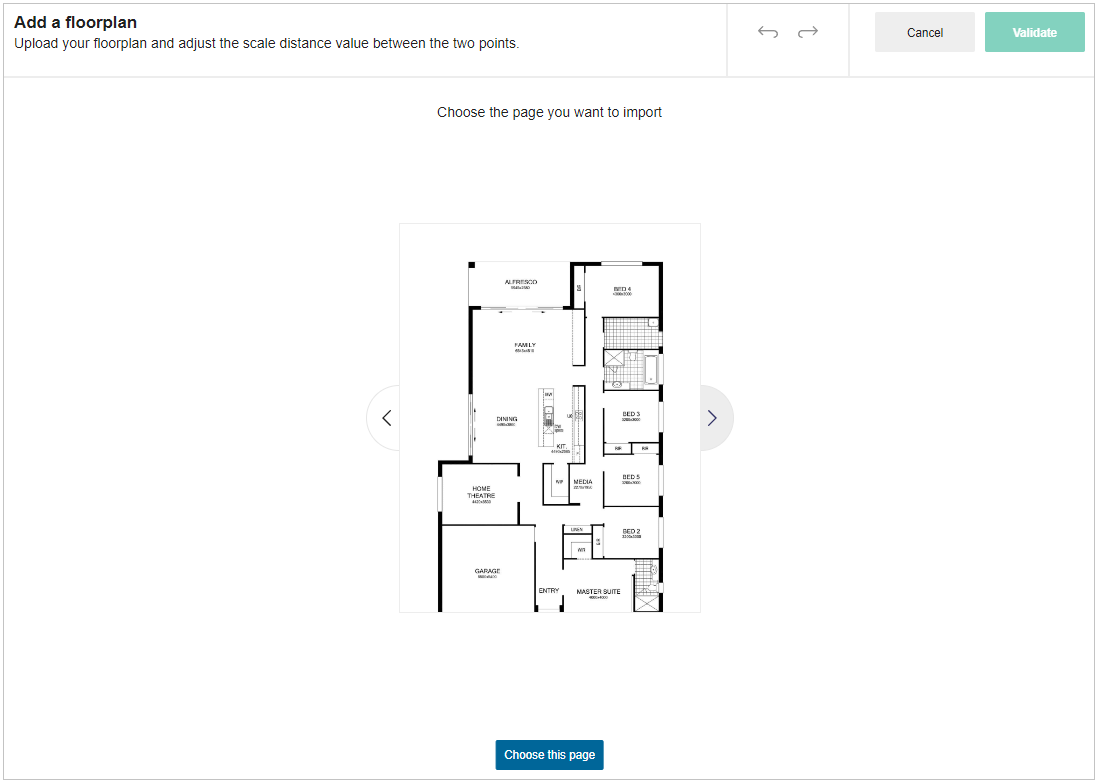
- You can preview the file by clicking on the Next/Previous arrow option.
Next/Previous arrow option activates only when the PDF file contains more than one page.
- Click the choose this page option to select the required page, as shown below:
Adjust Plan
- For plan adjustment options, click on the plan.
The options display as shown below:
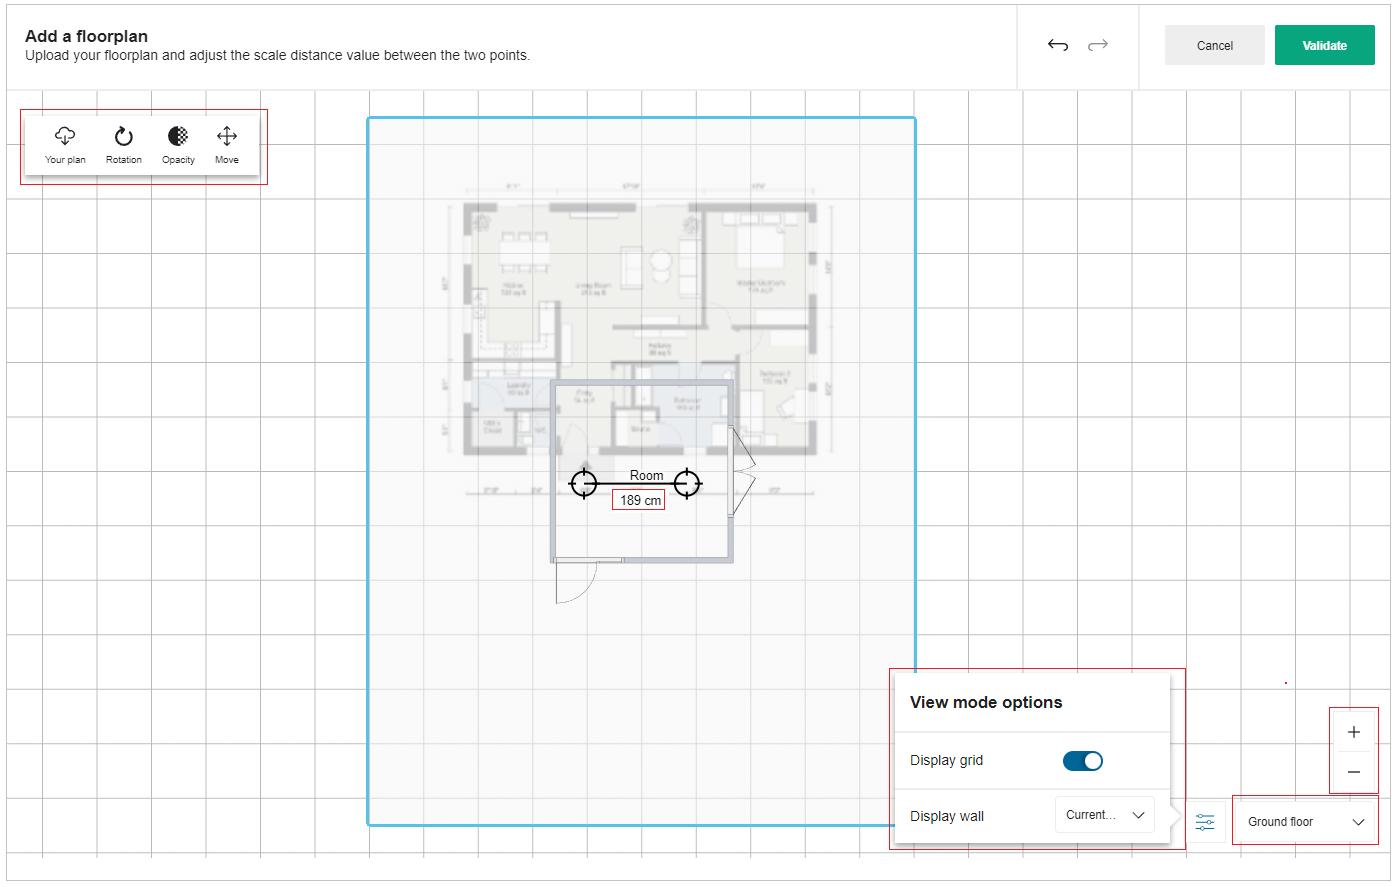
Click the Your plan option to change/delete the uploaded plan.
Click the Change button, to change the uploaded 2D plan.

To delete/change the plan, click the Yes option.
To upload a new plan, repeat from step3.

Click the Rotation option to rotate the plan, as shown below:

Click the Opacity option to adjust clarity of the plan.

Click the Move option to adjust the position of the plan.
After adjusting the desired position of the plan, click again the Move option to fix the plan's position.
View mode options
- Click the
 icon to display the View mode options.
Toggle the Display grid option to hide/show grid lines.
Click the Display wall option to display current walls or no walls in the plan.
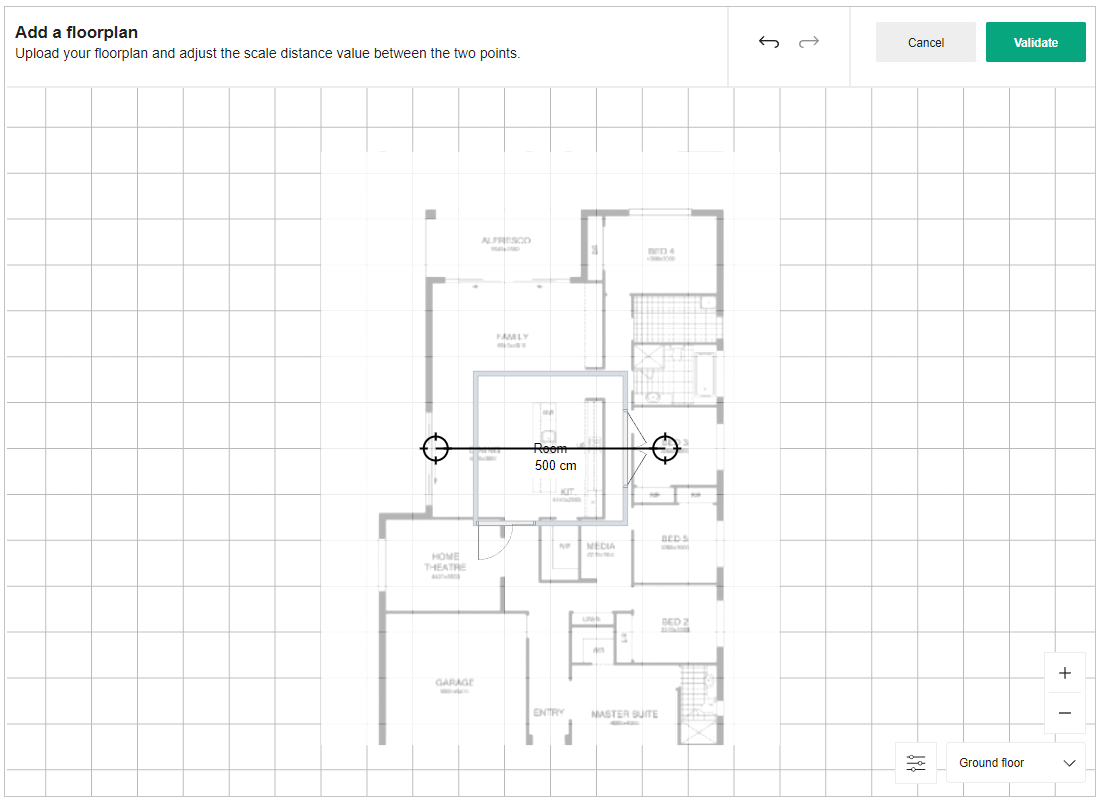
Floor select option
You can change the floor level, by selecting from the available floors.
The Zoom Icons
- Click the
 icon, to zoom in.
 - Click the
 icon, to zoom out.
You can also use the mouse wheel to zoom in or out
- Click the Validate button to continue with the plan.
2D plan is uploaded in the planner.
You can upload 2D plan in .pdf, .jpg and .png file formats.
Create the Floorplan
After the 2D plan is imported in the planner, draw walls with the help of "Add a Wall" feature.
Refer Add a Wall for more information.
As soon as the walls are added, you can begin decorating the home.