Finalize My Project
Before proceeding to this, it is recommended to save project for correct functioning of all options available in this feature.
This section provides detailed steps on taking project picture, accessing my medias, printing the project and exporting the project.
Take a Picture
This topic includes:
- Take a screenshot.
- Take a realistic picture.
- Take a 360° image.
Take a Screenshot
You can take screenshots of your project.
Steps to take a screenshot:
Click Take a picture > Take a screenshot.
Adjust the picture for screenshot.
Click capture icon. A pop- up message Your new screenshot is available will display.
To open saved screenshot click View.
To take another screenshot, repeat from step 2.
Project Screenshot:
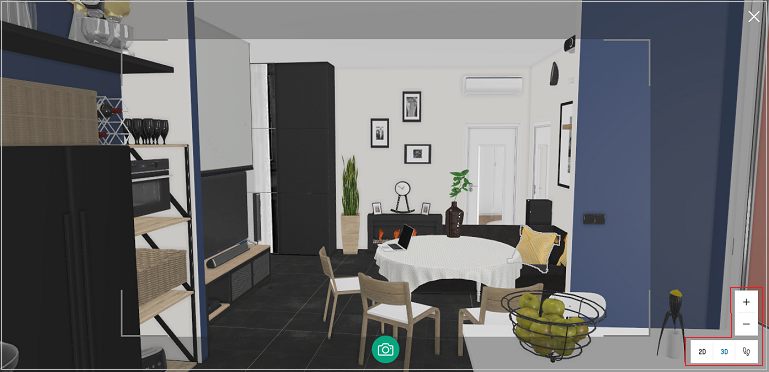
Command Icon Description Command Location Capture 
Captures screenshot of the project Bottom center of the screen Zoom-in 
Zoom-in the project Above navigation tool box Zoom-out 
Zoom-out the project Above navigation tool box 2D 
To switch 2D view Navigation tool box 3D 
To switch 3D view Navigation tool box First person view 
To switch first person view Navigation tool box
Screenshots of the project are taken.
To view screenshots, refer My medias.
Take a Realistic Picture
You can take realistic picture of your project.
Steps to take a realistic picture:
Click Take a picture > Take a realistic picture.
Information on number of pictures allowed is shown.Click Get Started.
Tick the checkbox Do not show again to discard this notification.
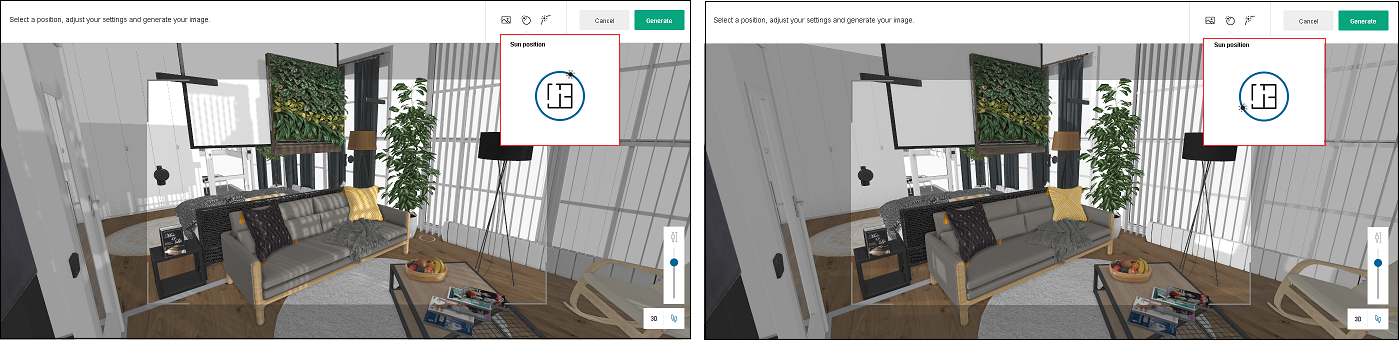
Get Started with Realistic Picture:

Adjust the picture in respect to:
Background image.
Sun position.
Sun inclination.
Viewer’s height.
Viewer’s position.
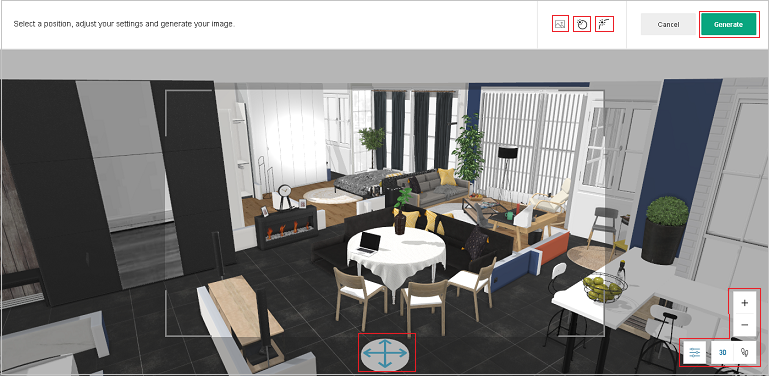
| Command | Icon | Description | Command Location |
|---|---|---|---|
| Background |  | Provides background options for the picture | Top bar of the screen |
| Sun Position |  | Allows adjusting sun position for the picture | Top bar of the screen |
| Sun Inclination |  | Allows adjusting sun inclination for the picture | Top bar of the screen |
| Viewer's Position |  | Allows adjusting avatar's position in the picture | In the scene |
| View mode option |  | Allows adjusting the camera height and show cut wall option | Beside navigation tool box |
| 3D | | To switch 3D view | Navigation tool box |
| First person view | | To switch first person view | Navigation tool box |
| Zoom-in | | Zoom-in the project | Above navigation tool box |
| Zoom-out | | Zoom-out the project | Above navigation tool box |
Background Image
Click Background image icon.
select image from the available options by clicking </> button.
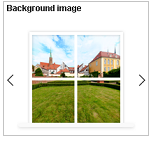
You can select from backgrounds available as shown below :
The Backgroung images can be change by using this feature only in first person view and not in 3D view.
Sun Position
The position of the sun can be manually adjusted in the circular path of sun with this setting.
Click Sun position icon, adjust position.
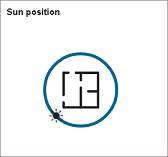
You can adjust the sun position as shown below :
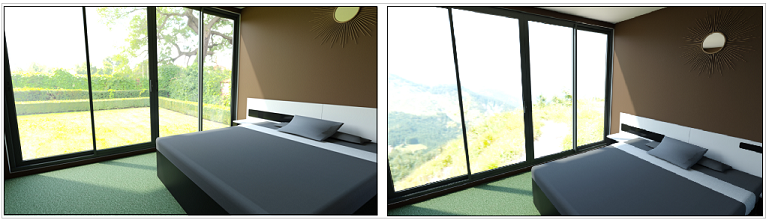
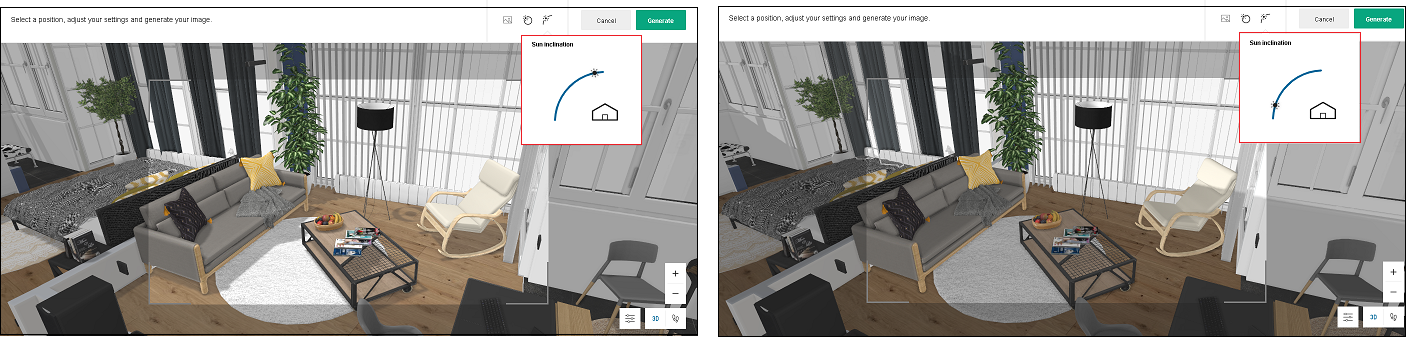
Sun Inclination
You can change the sun inclination in the realistic picture.
Click Sun inclination icon, adjust inclination.
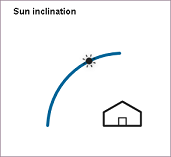
You can adjust the sun inclination as shown below :
Viewer’s Position
You can adjust the viewer’s position according to the view required in the realistic picture.
Click and place the viewer’s position.
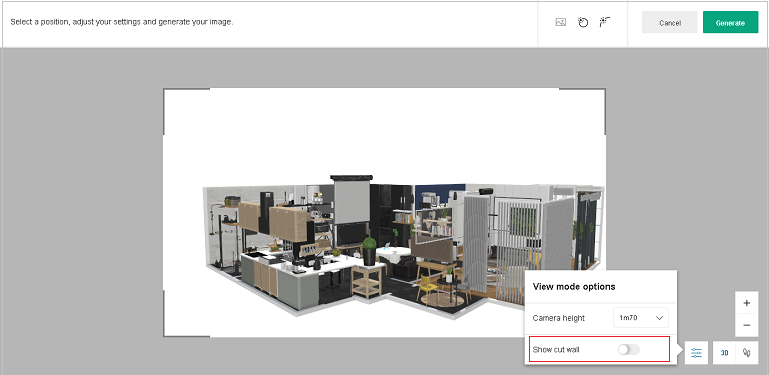
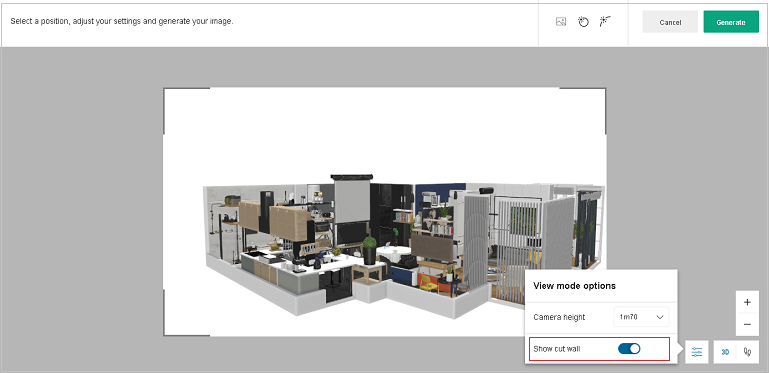
View Mode Option
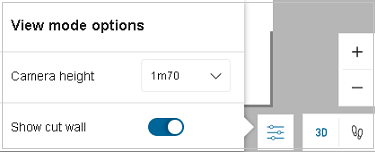
Camera Height:
You can adjust the Camera height in the picture.
Click and select Camera height from drop down option to adjust height.

Show Cut Wall:
Cut walls are the small walls instead of entire wall, present in 3D view mode.
These option give an entire Plan view by cutting the walls infront of user which is blocking the room view.
To show/hide cut wall in 3D image, click View mode options.
Toggle Show cut wall to show/hide.
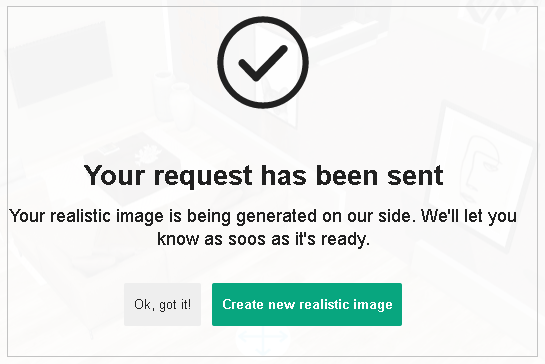
- Click Generate.
- Click Ok, got it to close the window.
For new realistic picture, click Create a new realistic image, repeat from step 2.
To view realistic pictures, refer My medias.
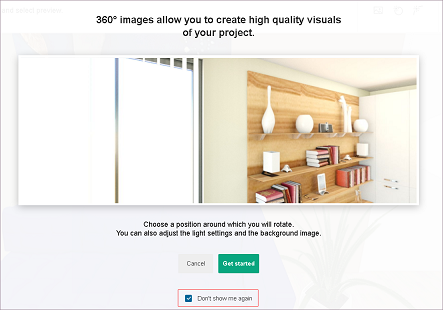
Take a 360° Image
You can take 360° image of your project.
Steps to take a 360° image:
Click Take a picture > Take a 360° Image.
Click Get Started.
Tick the checkbox Do not show again to discard this notification.
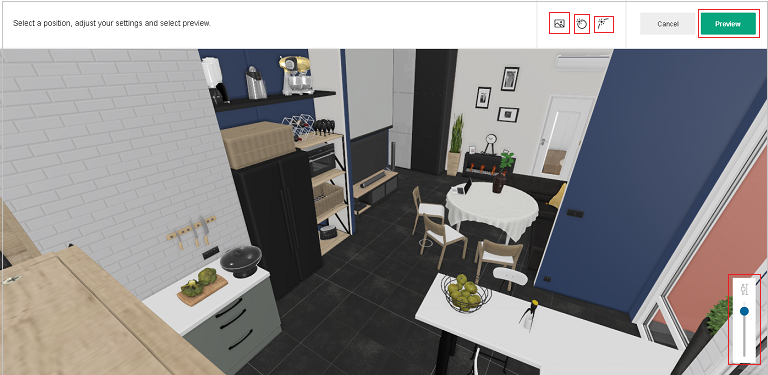
Get Started with 360° Image:
Adjust the picture.
Adjustments in 360° image is similar to realistic picture adjustments, refer Adjust the picture for more information.
| Command | Icon | Description | Command Location |
|---|---|---|---|
| Background | | Provides background options for the picture | Top bar of the screen |
| Sun Position | | Allows adjusting sun position for the picture | Top bar of the screen |
| Sun Inclination | | Allows adjusting sun inclination for the picture | Top bar of the screen |
- Human Height:
Different view of the project at different heights can be seen with the help of this setting.
Adjust the height for the view from the option available, as shown below.

- Click Preview.
This feature is only available for a 360° image.
You can manually adjust the location of the view.
Click Preview to begin.
For adjustment changes, click Modify.
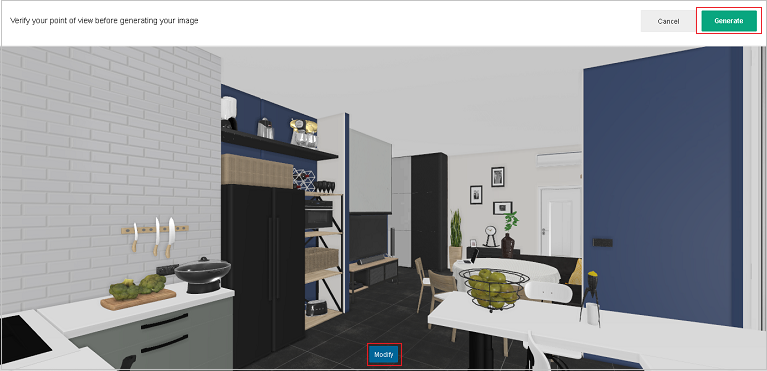
- Click Generate.
Information on remaining credits is shown.
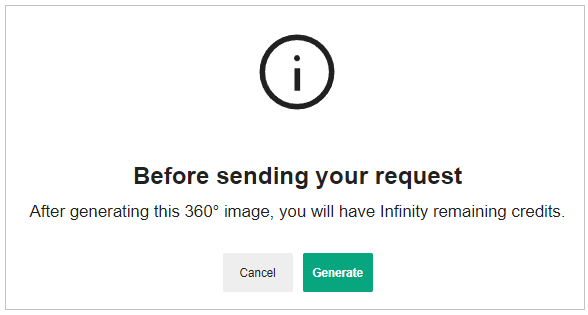
Click Generate.
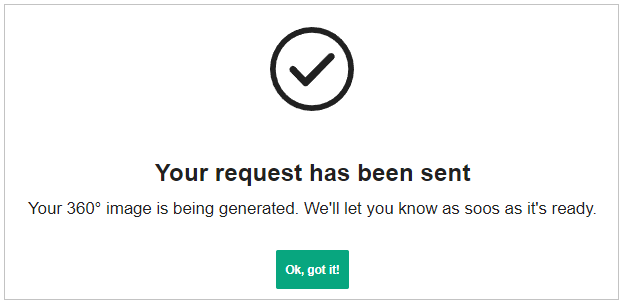
- Click Ok, got it to close the window.
For new 360° image, click Create a new 360° image,
To view 360° images, refer My medias.
You can manually adjust 360° image with the help of adjustment panel, as shown below :
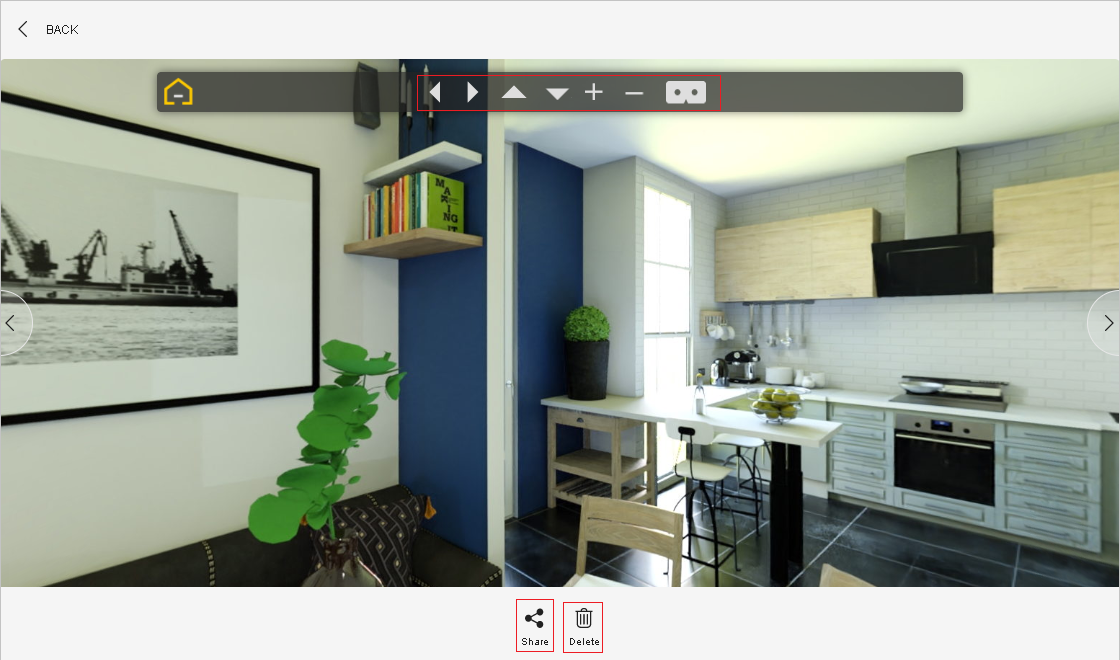
| Command | Description |
|---|---|
 | Image rotates left/right. |
 | Image rotates upwards/downwards. |
 | Image zooms in/out. |
 | Virtual Reality(VR) view displays. |
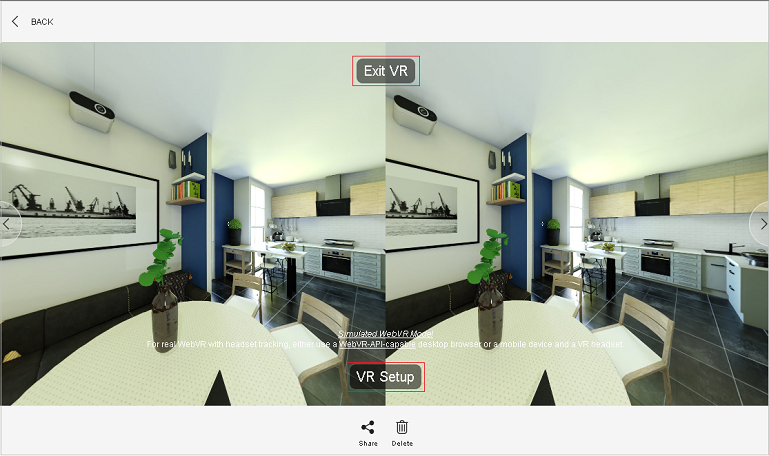
Click Exit VR to close the VR view.
Click VR Setup to adjust VR settings.
My Medias
You can view, download, and share media of your project.
Steps to view media:
Click My medias.
All media is visible.
All Media:
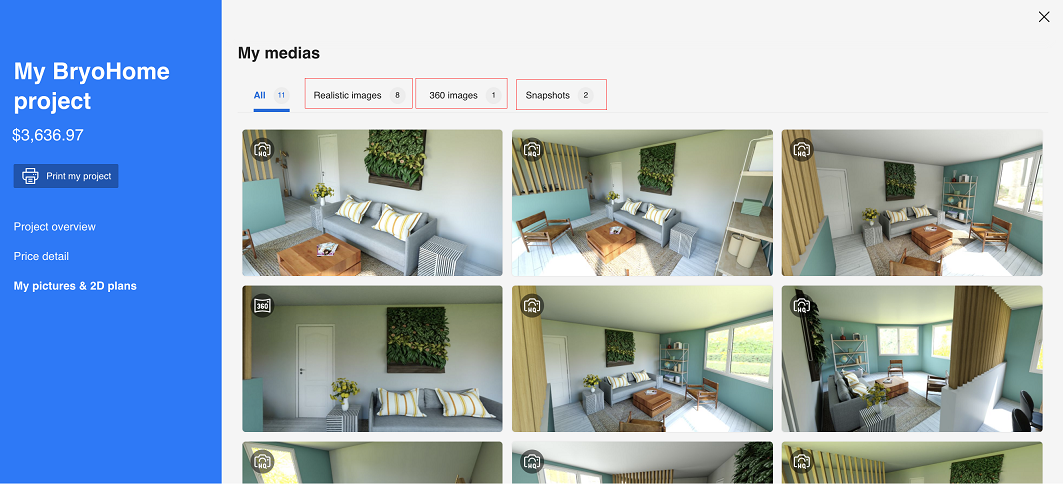
For certain media, select from media section.
For realistic images, click Realistic images section.
For 360 images, click 360 images section.
For snapshots, click Snapshots section.Select media to open.
Click Download to download.
Click Share to share.
Click Delete to delete.Click next for next media.
Click Back to go back.
Click Close.
Print Project
You can print your project.
Steps to print your project:
- Click Print.
- Select image/picture to print.
- Click Print my project.
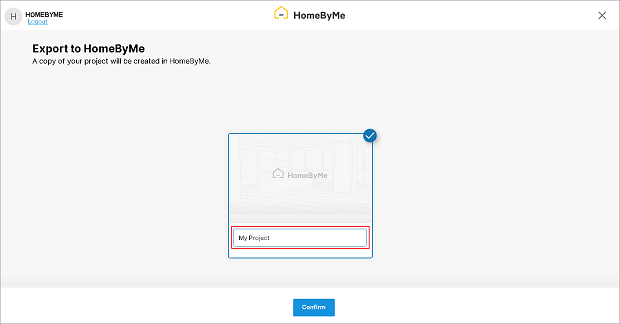
Export Project
You can export your project to HomeByMe.
Steps to export:
- To export your project to HomeByMe, click Export.
- Enter credentials of HomeByMe, click Login.
You can connect to HomeByMe with the help of Google/Facebook.
Note:
If you have already logged in, your rename project display.
- Rename your project, click Confirm.
A copy of your HomeByMe project is imported in the planner.