Get Started
This section provides information on how to launch and begin 3D planning in the "HomeByMe for Home Retailers" website along with the information about the icons used in the application.
Launch 3D planning experience
Visit HomeByMe for Home Retailers to explore the application and its products.
Start From A Room
You can plan your 3D design in planner. Steps to launch planner:
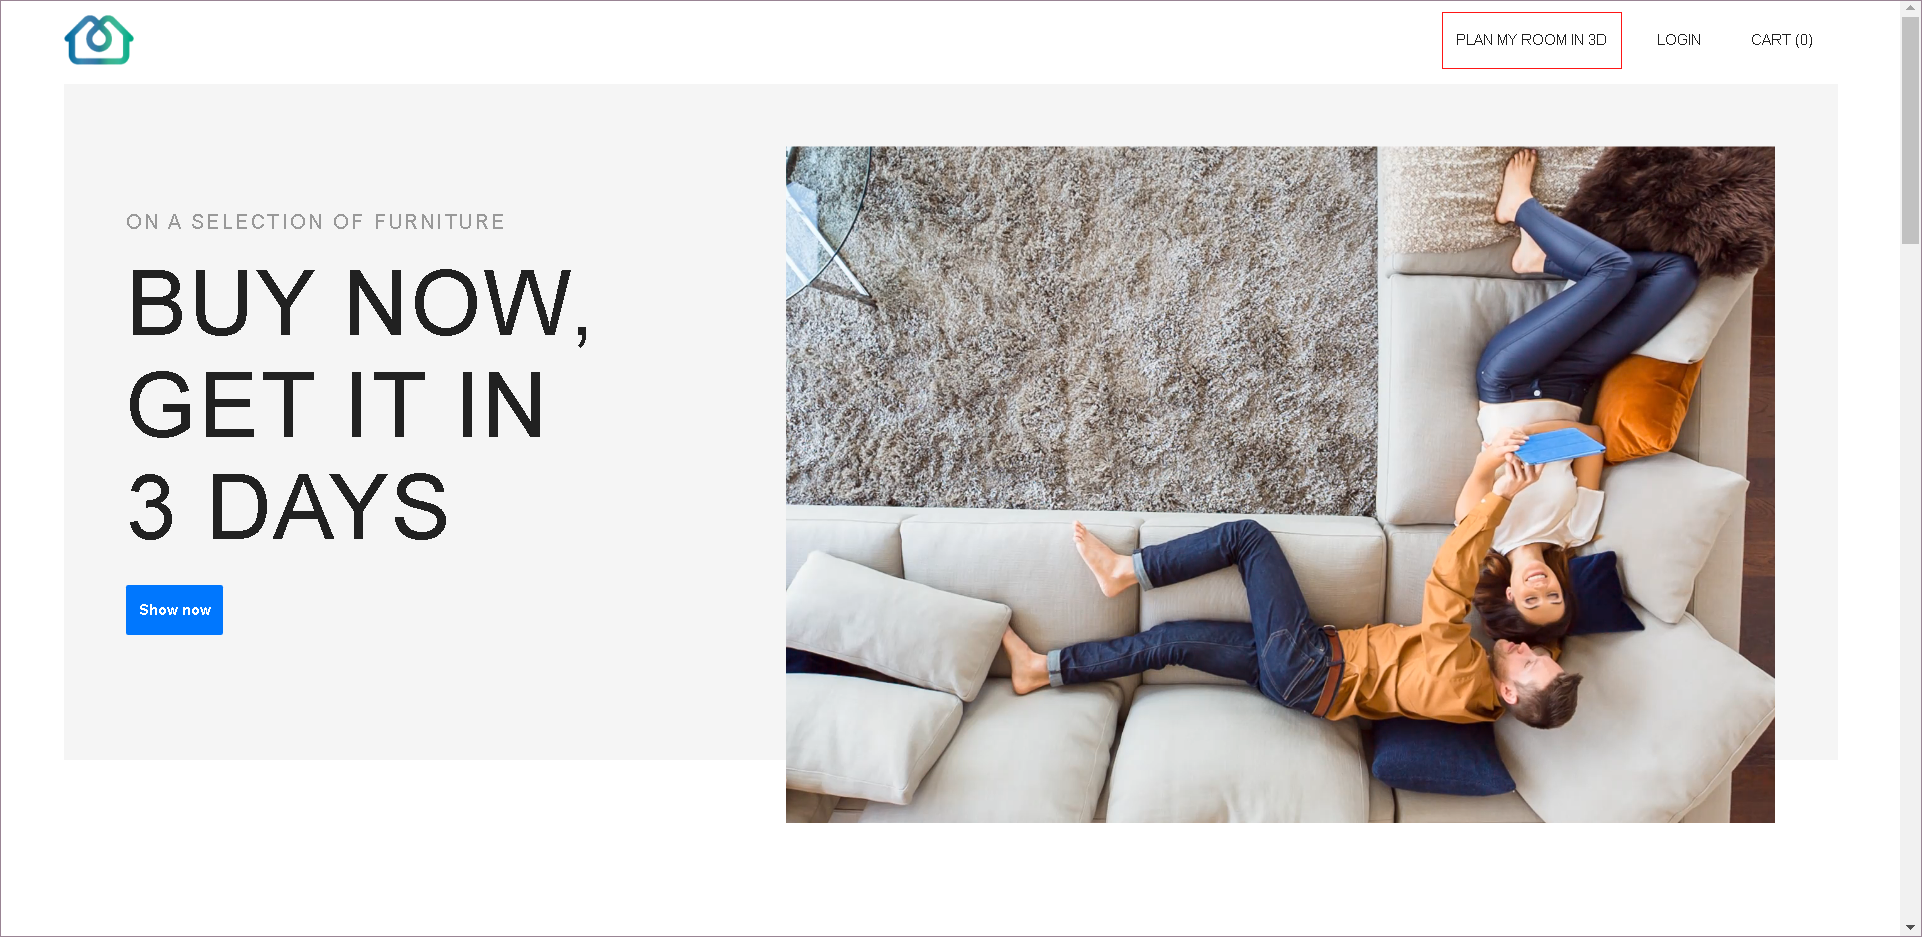
- To launch planner, click Plan my room in 3D, welcome page launches.
- Select room type, surface area of room and click Launch planner. Tick the checkbox Do not show again to discard this step.
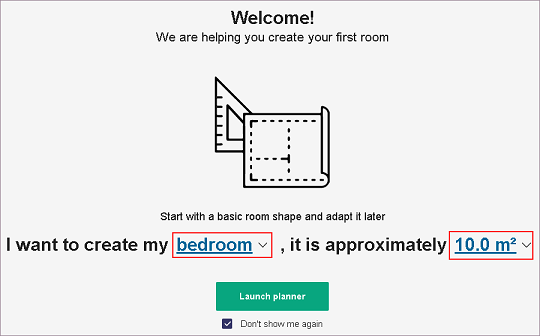
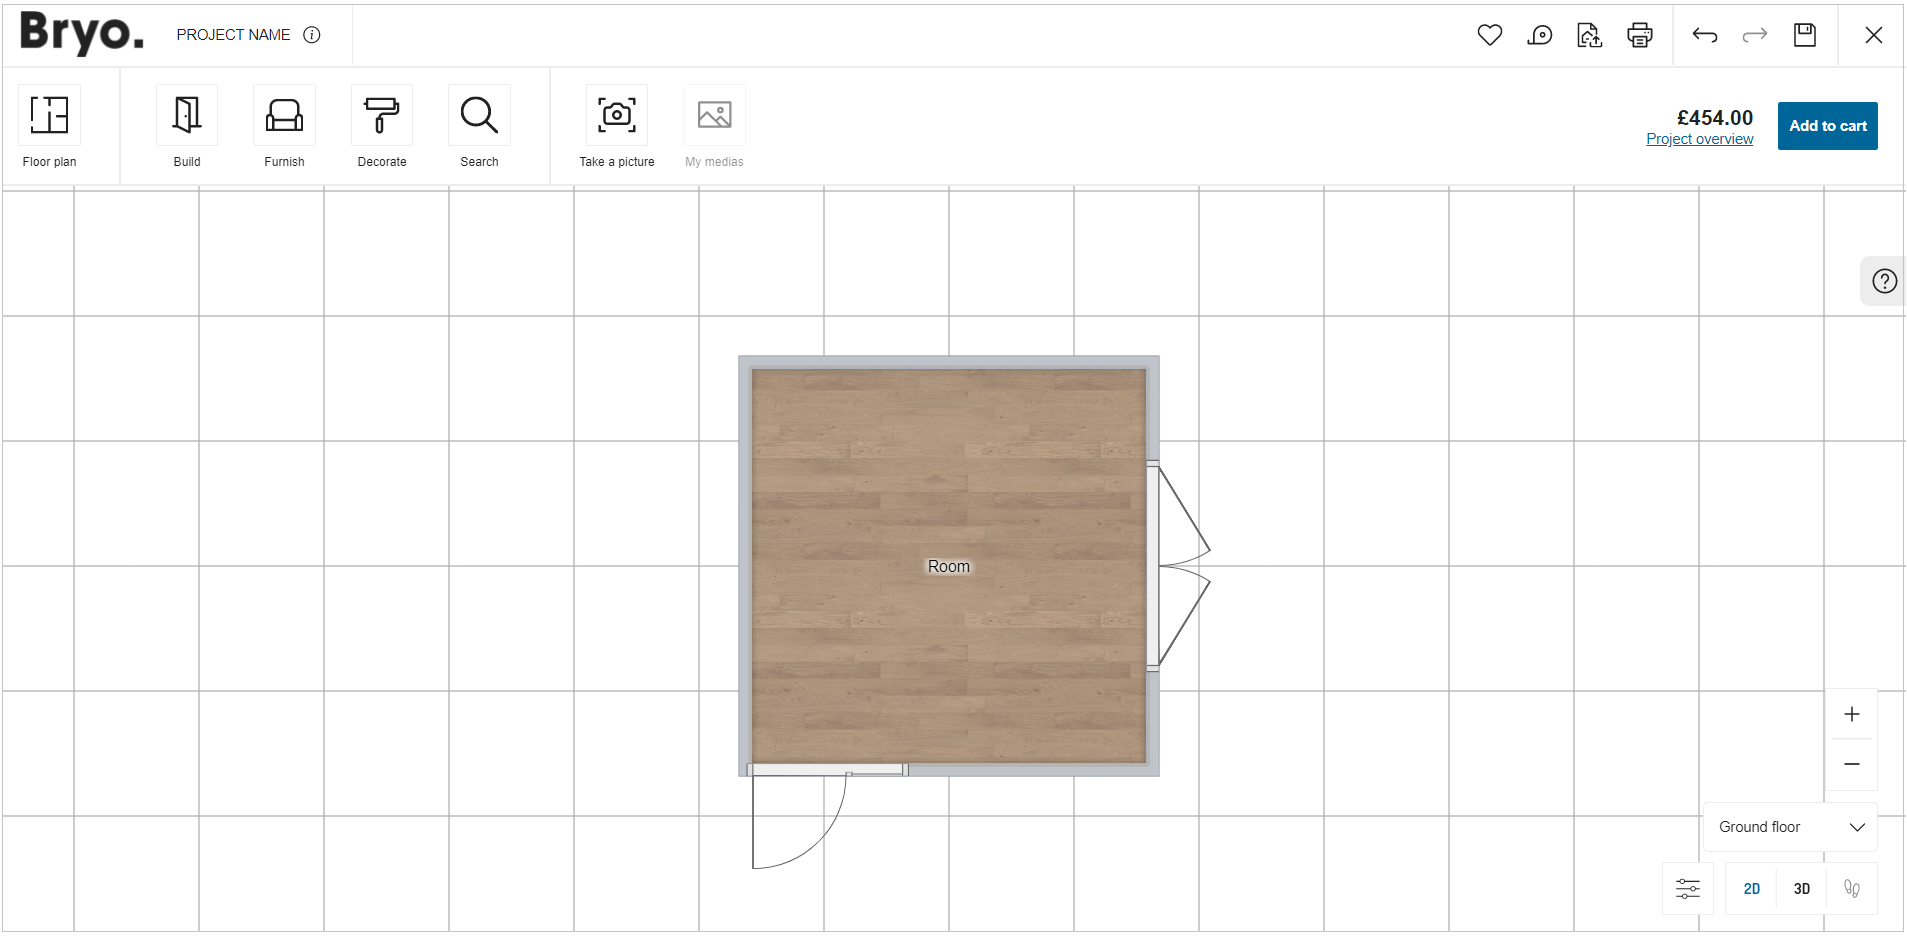
Planner launches.
Icons Used in the Application
Before you begin with the application, it is helpful to know how to access the HomeByMe for Home Retailers features. Many of the features you use are accessible on the planner with printed commands on them.
These features are context sensitive, which means that commands are grayed out if the features are not available for your current task. Sometimes, the features do not appear at all, so it is helpful to know where you can access them.
HomeByMe for Home Retailers:

Features that have text command printed on them are not mentioned below.
1. Manipulators
| Feature | Icon | Command | Command Location |
|---|---|---|---|
| Move |  | Allows moving the product | Planner |
| Rotate |  | Allows rotating the project/product | Planner |
| Elevate |  | Allows elevating the product | Planner |
2. Avatar/Person Placer
| Feature | Icon | Command | Command Location |
|---|---|---|---|
| Avatar |  | Allows moving the avatar from one room to another, displaying most products of the room | Planner |
3. View Mode Options
| Feature | Icon | Command | Command Location |
|---|---|---|---|
| Center |  | Appears only when 3D project is out of view. It navigates 3D project to center of screen. | Above view options |
| Zoom-in |  | Moves you closer | Above view options |
| Zoom-out |  | Moves you away | Above view options |
| First Person |  | Displays project in first person view | View options |
| 3D |  | Displays project in 3D view | View options |
| 2D |  | Displays project in 2D view | View options |
| View Mode Options |  | Avails view mode options | View options |
| Height |  | Allows avatar height modification | View options |
You can change/add floors in between designing the project.
To change the floor, click floor name and change the floor.
To manage/add floors, click Manage levels.
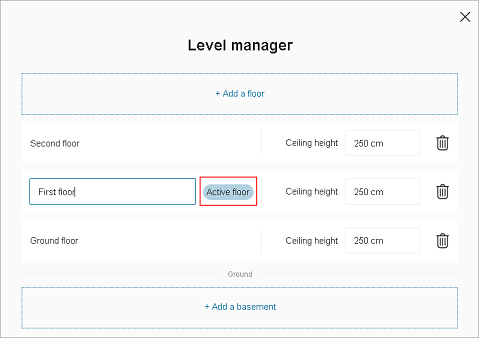
Click Add a floor to add floor.
Click Add a basement to add a basement.
Current floor will be highlighted with Active floor mentioned on it.
To rename the floors, click the floor name.
To modify ceiling height, click ceiling height number box.
To delete the floor, click delete.
Click yes to confirm deletion.
Click view mode options, view mode options are available.
There are three view mode options.
Camera height
Display room names
Display room areas
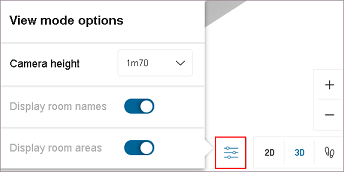
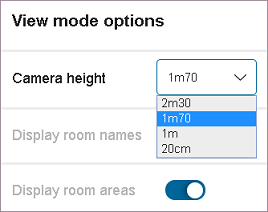
Camera height
This allows you to change the camera height for better view. There are different camera height options.
This mode is enabled only in 3D and first person view.
Display room names
This allows you to hide/show the room names.
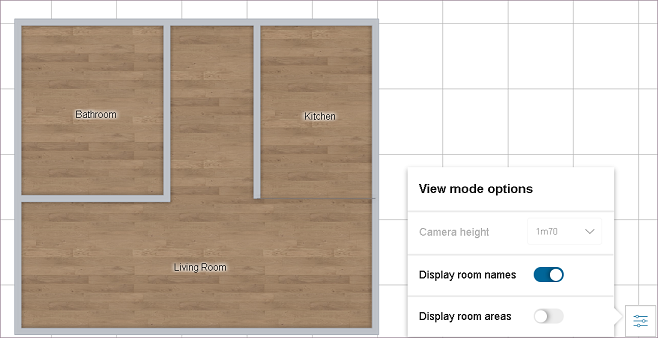
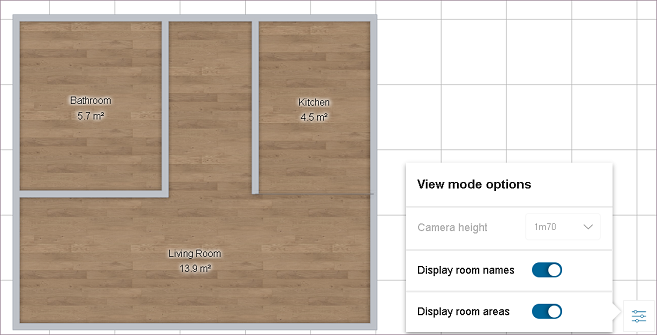
Display room areas
This allows you to hide/show the room surface areas.
4. Help Center
| Feature | Icon | Command | Command Location |
|---|---|---|---|
| Show Help |  | Displays tips | Beside planner |
| Close Help |  | Hides tips | Beside planner |
Help Centre helps you with tips.
Click Show Help (?) present on right hand side corner.
Click Close Help (>) to close the help center.
Help Centre:
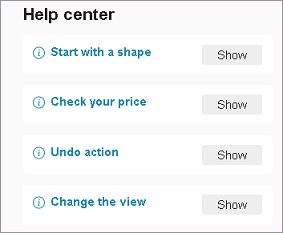
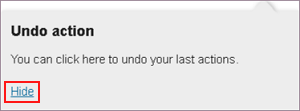
These tips are short general instructions.
Click Show for instruction.
Click Hide to close the instruction.
Tip:
5. Cart
| Feature | Icon | Command | Command Location |
|---|---|---|---|
| Cart |  | Opens list of products used in the project | Beside project overview |
Cart has list of products along with their price and quantity. Products are separated according to their room name.
Steps to view cart products:
- Click Cart.
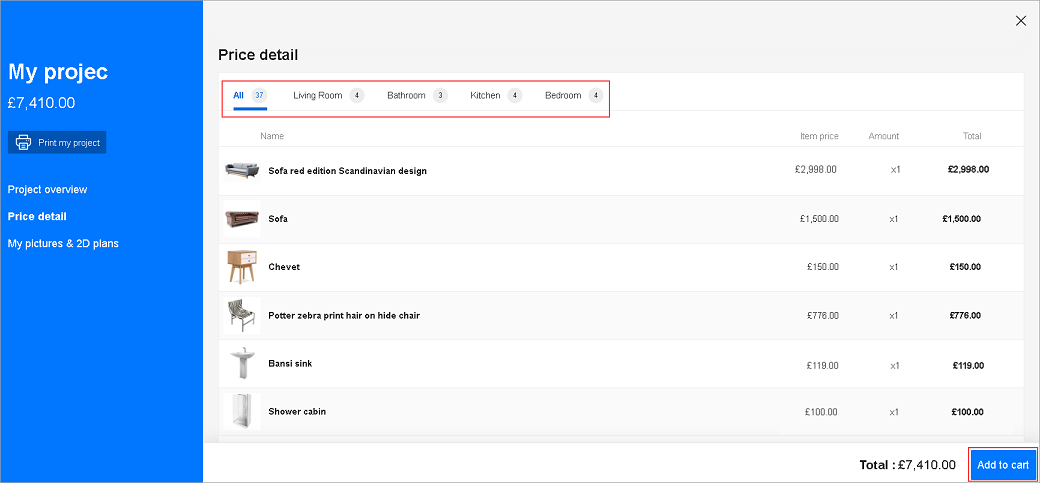
- Select the room name, to view products in that room.
- To choose and add products in the cart, click Add to cart.
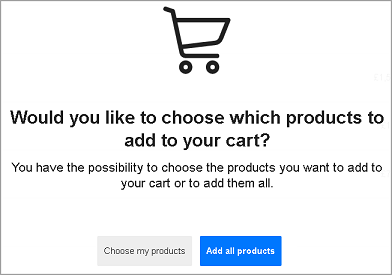
- To choose the products and add, click Choose my products.
Select the products and click Add to cart.
Total price calculated will be according to the selected products.
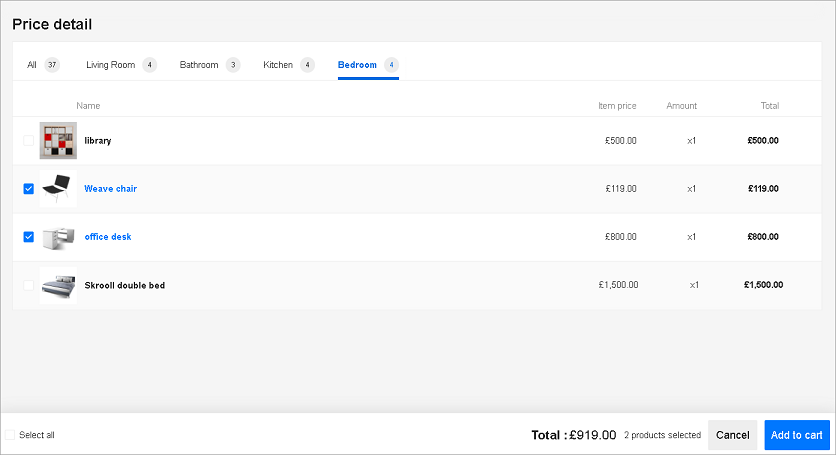
To add all products, click Add all products.
6. Command Bar
| Feature | Icon | Command | Command Location |
|---|---|---|---|
| Measure |  | Allows distance measurement | Command bar |
| Export |  | Allows project export | Command bar |
 | Displays project shopping lists and medias to print | Command bar | |
| Next |  | Displays next picture | My medias |
| Undo |  | Cancels the previous action | Command bar |
| Redo |  | Repeats the previous action | Command bar |
| Save |  | Saves the project | Command bar |
| Close | Closes the project | Command bar |
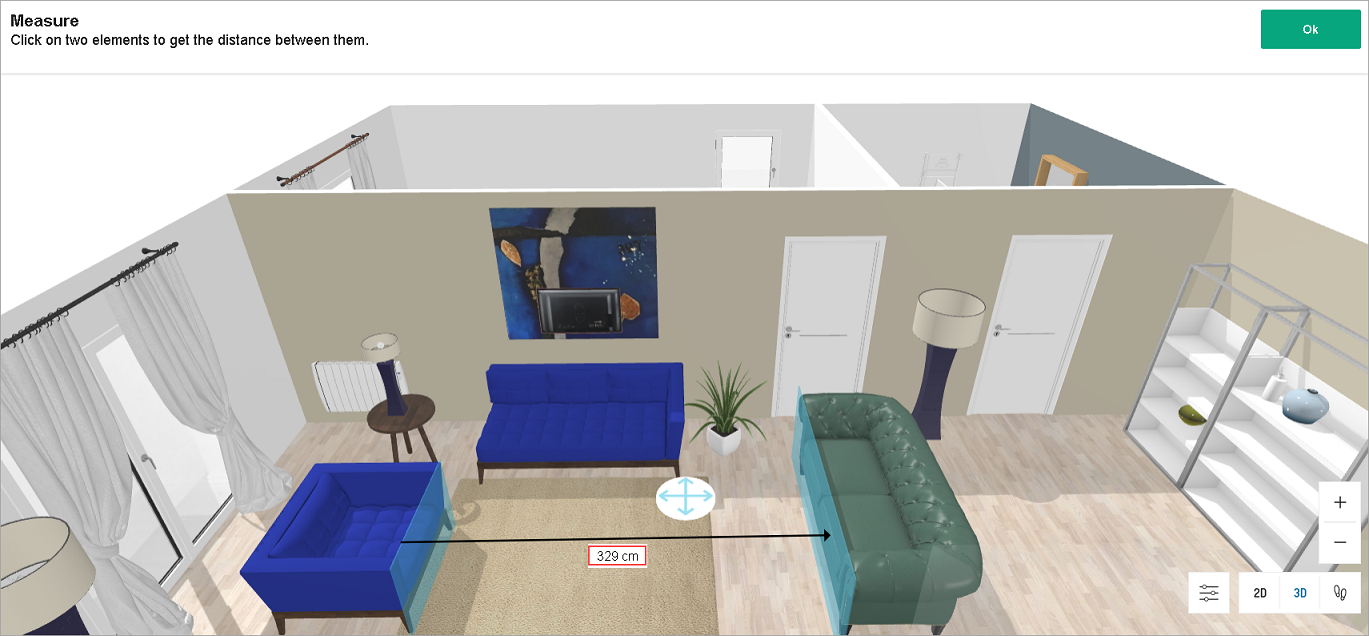
Measure
You can measure the distances in the project.
Steps to measure:
- Click Measure.
- Click one point followed by another point.
Distance between the points is displayed.
Note: Only two points distance is displayed at once.
- Click Ok to close.
Export
Refer to Export Project for more information.
Refer to Print Project for more information.
Undo/Redo
There are two commands – undo and redo.
To undo the previous action, click Undo.
To redo the previous action, click Redo.
Save Project
Steps to save project:
- Click Save.
- Login to your account is requested. Enter your credentials and click Login.
- Project rename option displays.
Note: If you have already logged in, rename option displays.
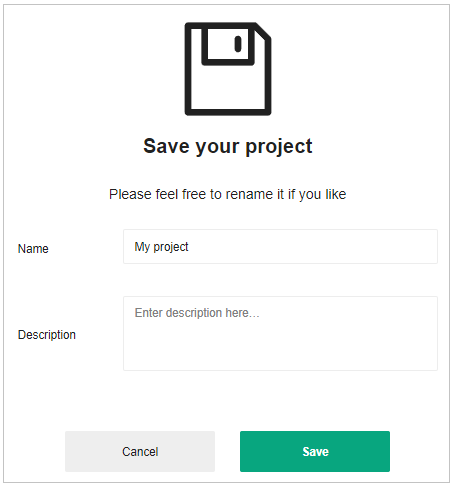
- Rename your project, add description and click Save. On completion of save, a notification is displayed.
Close
On completion of project, click Close.
You can access your saved projects from my account. Refer My account for more information.
7. Project Information
| Feature | Icon | Command | Command Location |
|---|---|---|---|
| Information |  | Provides project information | Beside project name |
8. Catalog View
| Feature | Icon | Command | Command Location |
|---|---|---|---|
| Maximize |  | Display mode broadens to full screen | Catalog list |
| Minimize |  | Display mode narrows to sidebar panel | Catalog list |
| Close | Closes the catalog | Catalog list |
9. Product Information
| Feature | Icon | Command | Command Location |
|---|---|---|---|
| Favorite |  | Adds/removes product from favorite list | Catalog list |
| Information | | Provides product information | Beside product name |